22 September 2021
I bought a Barska Blackhawk 10×40 monocular for $56 at the end of 2020 with the intent of using it while birding as a complement to my camera and long lens. While selecting it, I wasn’t able to find a useful review, so this is my attempt at filling that gap.

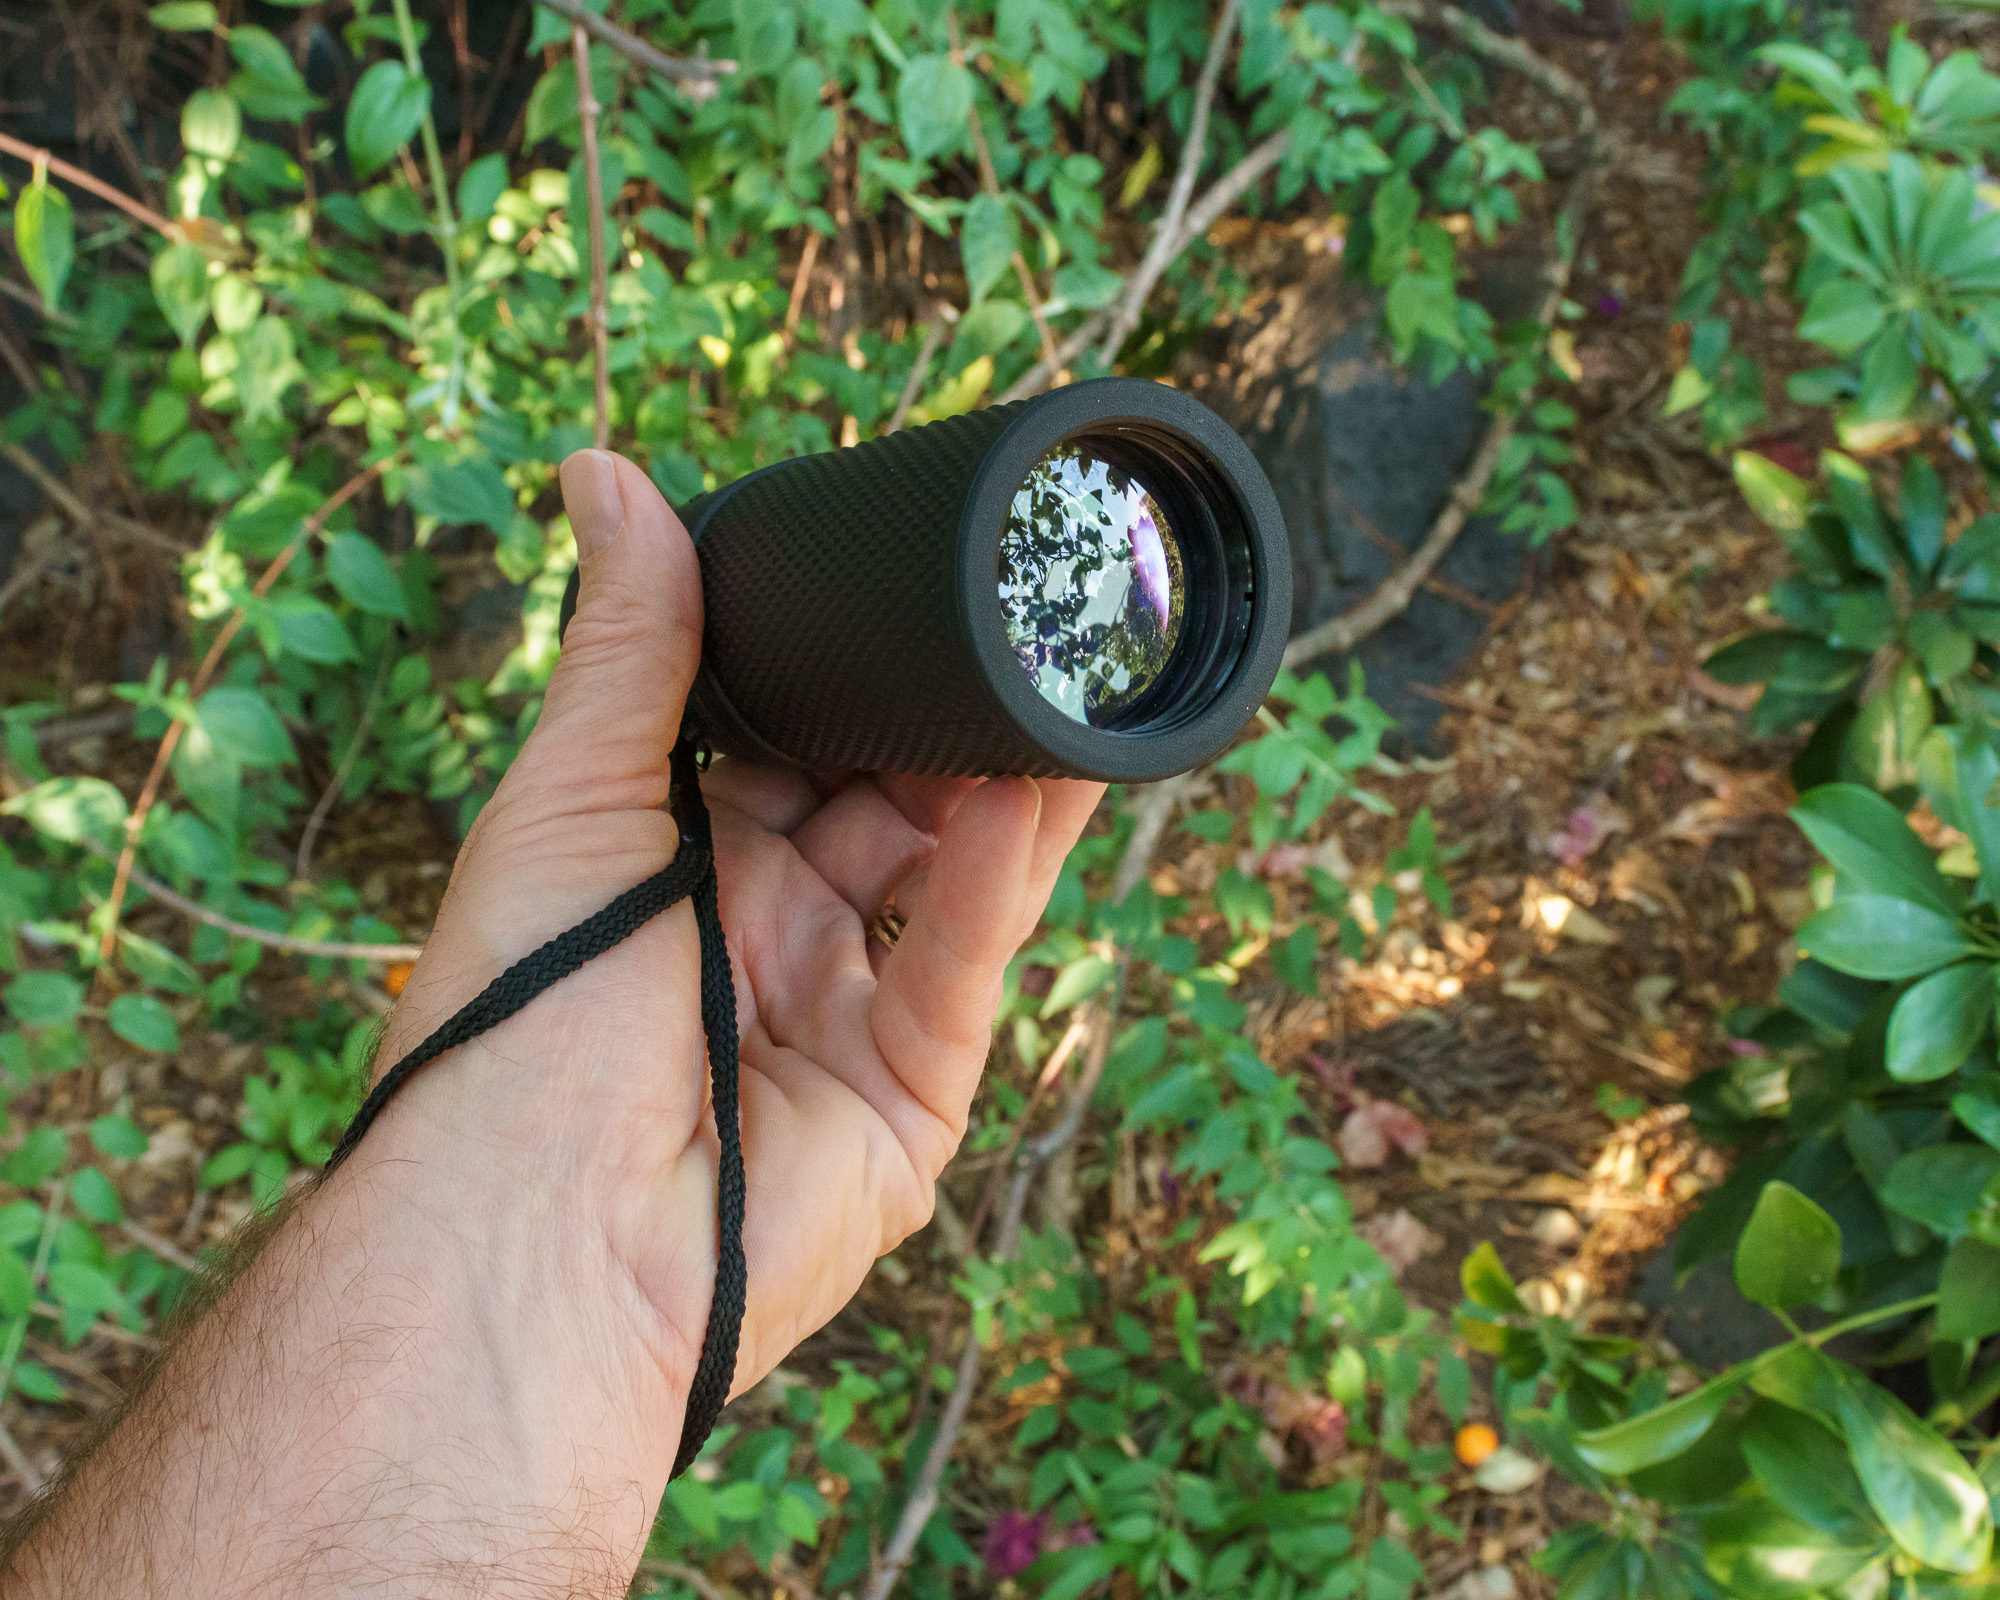
The Barska Blackhawk 10×40 monocular.
In short, the monocular is compact, light, and robust. The images are clear and crisp in the central part, but degrade away from the center. I find it a useful complement to my camera and long lens, especially for searching for birds and for following them in flight.
Selection
I took up birding at the start of the pandemic; it’s one thing you can do outdoors and without being around people. More precisely, I extended my previous hobby of photography to include birds, and then got interested in my subjects per se.
After months of using the viewfinder of my camera as a sort of electronic monocular, I thought about getting a binocular. At that time, the cheapest binocular on the Audubon Guide to Binoculars was the Tasco Essentials 8×42 binocular at about $50. It’s a fairly basic binocular, lightweight and not waterproof. It also seems fairly fragile; in a YouTube review a fall of about 25 cm knocked the similar 10×42 model out of alignment.
For about the same price, I could have got a compact, waterproof, and possibly more robust 10×25 binoculars such as the Barska Blackhawk 10×25 binocular. However, my experience is that most of these compact binoculars have short eye-relief. This is a huge disadvantage for me as I wear glasses and so short eye-relief means that I cannot get my eyes close enough to the eye-piece to see the whole field. Indeed, my wife has a similar but older model (a Bushnell H20 10×25 binocular) with an eye-relief of 12 mm and a nominal field of about 6.5 degrees, but with glasses I can only see a field of about 3 degrees. Furthermore, the small exit pupil in compact binoculars gives fairly dark images in low light.
I eventually decided to get a monocular for about $50. The “Best Binocular Reviews” website comments that at a given magnification, objective size, and price, a monocular will typically be lighter, more compact, more robust, and quite possibly have better optical quality than a binocular. The disadvantage is that for many people the experience is less immersive. However, I’m very accustomed to using only one eye, either with a camera viewfinder or an astronomical telescope eye-piece.
I wasn’t able to easily find any of the models recommended by the “Best Binocular Reviews” website, but I did find a Barska Blackhawk 10×40 monocular for $56. Barska is a well known brand, with a reputation for reasonable quality in the lower price range. This model seemed to have a good combination of magnification (10×), objective size (40 mm) image brightness, and good eye-relief. It also promised waterproofing, compactness, lightness, and more robustness than a binocular since it doesn’t have a second set of optics to be knocked out of alignment.
Specifications
On the Barska website, the specifications of the Blackhawk 10×40 monocular are given as:
- Model Number: AA12132
- Prism Type: Roof BK-7
- Magnification: 10×
- Close Focus: 4 m or 13 ft (but measured to be 5.5 m or 18 ft)
- Eye Relief: 17.5 mm
- Objective Lens: 40 mm
- Exit Pupil: 4 mm
- Field of View: 105 m @ 1000 m (344 ft @ 1000 yd)
- Optical Coating: multi-coated (but not fully multi-coated)
- Waterproof: yes
- Fogproof: yes
I measure the main tube to be about 155 × 55 mm (6.1 × 2.2 in). It is about 300 g (10.6 oz) without the two caps and the pouch and 343 g (12.1 oz) with them.
According to the packaging, Barska offers a limited lifetime warranty against “original defects in materials and/or workmanship” in the USA and Canada.
Image Quality
The image in the field center is crisp and has good color saturation, and much of this quality is maintained to about one third of the distance to the field edge.
Outside this central region, the quality decreases noticeably. Between about one third and two thirds of the distance to the edge of the field, the image loses contrast but still maintains a lot of its resolution. In the outer one third there is a strong loss of resolution. Furthermore, starting at about one third of the distance to the edge of the field, lateral chromatic aberration becomes noticeable on high-contrast features as blue fringes towards the field center and red fringes towards the field edge. As expected, further from the field center, the chromatic aberration becomes stronger.
In general, you’ll want to place the subject in the field center, and use the outer parts of the field mainly to give context for framing.
The exit pupil is 4 mm, which helps keep the image bright as the light fades compared to, say, a 10×25. However, the coatings are listed as only “multi-coated” rather than “fully multi-coated” and the roof prisms are BK-7 with no indication of the coating, so compared to a more expensive optics light is almost certainly being lost. I’d expect these deficiencies to be almost universal at this price, though.
There is a slight red color cast, but I only notice this as a purple tint to the pale blue evening sky. In more complex scenes or perhaps brighter scenes, I don’t notice it at all.
There is some flare and loss of contrast when looking towards a bright source.
Eye-Cup and Eye-Relief
The circular rubber eye-cup is comfortable to use without glasses. It provides fairly good shielding from peripheral light, except towards the outer side of the face but this gap can be covered by a finger on the hand that is being used to focus. Without glasses and with the eye-cup extended, I can comfortably see the whole field of view.
For people who use glasses, the eye-cup folds down. This is not as convenient as twist-down eye-cups, especially since the eye-piece cap does not fit when the eye-cup is folded down.
The eye-relief is listed as 17.5 mm, and I can confirm that with the eye-cup folded down, I can see the full field of view when wearing glasses. (With the eye-cup extended, I can see about 2/3 of the full field of view when wearing glasses.)

The eye-pieces are covered in rubber armor and have fold-down eye-cups. The focus is adjusted by twisting the eye-piece. The eye-relief is adequate for use with glasses.
Focusing
Focus is adjusted by twisting the ridged eye-piece. The throw from the minimum to maximum focus is a little bit more than one full turn, about 380 degrees.
Compared to a finger wheel, this method of focusing gives a very compact package, but has some disadvantages. First, you need two hands to focus. Second, the resistance is always a compromise between being slack enough to easily change focus while being stiff enough to maintain focus during normal handling. In my example, the focus is probably slightly on the stiff side.
The minimum focus distance is listed as 4 meters or 13 feet, but my use suggests that it is actually about 5.5 meters or 18 feet.
Build Quality and Protection
The main barrel is textured, has a raised finger grip, and a wrist strap. It feels very solid. The main barrel and the eye-piece both have rubber armour to cushion knocks. Most of the chassis is hidden below this, but the portion that is exposed when the eye-piece is extended appears to be polycarbonate, and I’d not be at all surprised if this were used throughout. Of course, not being a binocular, there is no second set of optics to knock out of alignment. I’m not going to go throwing this around, but I don’t feel the need to wrap it in cotton wool.
The objective lens is recessed for protection and shading.
The Barska website states that this model is waterproof and fogproof, but interestingly I can find no mention of this on the body or the packaging.
The exposed optical surfaces are recessed for protection and shading and, when not in use, can be protected by a clip-in front cap and a push-on rear cap.

For protection, a soft pouch, a push-on rear cap, and a clip-in front cap are supplied.
The optic is supplied with a soft pouch that can be threaded onto a belt. The pouch has a durable exterior, possibly nylon, and a softer lining, but cushioning is minimal. The pouch is closed with velcro, and that noise this generates when being opened is definitely not ideal when stalking wildlife. I’m also not convinced about its robustness; after a few months of light use, in my example the soft lining is pulling away from one of the seams.
For Birding — On Its Own
The monocular is a very compact and light option, something I can take with me when I don’t want to take my camera and long lens, for example, when I’m out biking with my kids.
It’s good for identifying and observing birds that aren’t too far away. The 10× magnification is like moving a bird from 30 meters to 3 meters (or 100 feet to 10 feet in old money), and allows you to see much more detail. The image quality away from the central region is not great, but birds normally are small enough to fit in the good zone. I don’t have problems keeping the image fairly steady.
It’s great for scanning for birds in tree tops or reed beds, for keeping track of them as they move around in trees, or for following them in flight. The combination of a magnification of 10× and a field of 6 degrees work well together.
For Birding — With My Camera
When I’m out with my camera, I find the monocular to be a useful complement. It’s better for searching for birds and much better for following birds in flight; I can follow swallows almost effortlessly with the monocular, but it’s just about impossible with my camera.
It took a little while to figure out how to juggle two optical instruments in the field. I use a neck strap on my camera and the wrist strap on the monocular. I use the wrist strap on my left wrist. When I want to use my camera, I pass the wrist strap over the palm of my hand and then between my thumb and first finger, which allows the monocular to hang quite nicely close to the back of my hand. I can then use the palm and fingers of my left hand to support and operate the lens. (This trick is possible because of the lightness and compactness of the monocular; I’m not sure it would work with a heavier and more bulky binocular.)
I’d previously used my camera as an “electronic monocular”. It’s an APS-C mirrorless camera (a Sony ɑ6000) with an electronic viewfinder, and I use it with a stabilized 80–350 mm lens. The viewfinder offers both a normal view and, with the push of a button, an additional 6× digital zoom (“focus magnification”). I therefore have these options:
The monocular, with an unstabilized field of about 6 degrees and a magnification of 10×.
The viewfinder without digital zoom, with a stabilized field of about 3.5 degrees and a magnification of about 7×.
The viewfinder with digital zoom, with a stabilized field of about 0.6 degrees and a magnification of about 40×.
Other mirrorless cameras with similar lenses would give slightly different numbers, many would be close to these. Similarly, I’d expect most 8× and 10× optics to be similar to this particular monocular, with 8× optics typically giving a slightly wider field and, obviously, slightly less magnification.
To get a sense of these numbers, the figure below shows simulations of the three options. You can see, the monocular gives both a wider field than the viewfinder and a usefully higher magnification. It’s much better for searching for birds and for following them as they move. Subjectively, the monocular gives a more immersive experience. The main reason for this is that the apparent field of view (i.e., the image as it appears to the eye) is so much larger in the monocular than the camera. The monocular has an apparent field of view of 60 degrees, whereas the viewfinder has an apparent field of view of about 30 × 20 degrees.
However, the viewfinder does have one clear advantage. Once you find the bird in the viewfinder, you can engage digital zoom and get a stabilized image with 40× magnification! This is excellent for confirming fine detail.

Simulations of a scene through the 10×40 monocular, electronic viewfinder with a 350 mm lens, and electronic viewfinder with 6× digital zoom and a 350 mm lens.
I’d note that the comparison to a DSLR would probably be more favorable to the monocular, since the viewfinders of all but the best DSLRs tend to give smaller images and don’t have digital zoom.
I also find that the monocular image is brighter during the day and even getting into twilight, despite having configured the viewfinder for maximum brightness. Of course, other cameras might have brighter viewfinders.
My particular camera and lens are not weatherproof, unlike the monocular. So, if it starts drizzling, I put the camera away but can continue birding with the monocular.
For Astronomy
My other hobby is amateur astronomy, and so I also checked out the night sky. The monocular gave nice views of the classic bright winter objects: the Pleiades cluster (M45), the Hyades cluster, and the Orion Nebula (M42). When viewing the Moon, you need to keep it centered, otherwise the chromatic aberration causes blue and red fringes on the bright limb and terminator.
Conclusions
So what do I make of all of this? Let me qualify my conclusions by saying that I am not an expert in monoculars or binoculars. However, I do find the monocular useful and enjoyable to use when birding. I think I’m getting good value for $56.
The image quality is acceptable for my needs. In the center of the field, I see good detail, contrast, and color, but further out there are obvious optical problems. Fortunately, birds are typically small, and I can easily observe them in the center.
There are times when I want more magnification (which is why spotting scopes exist), but its contribution to my experience is definitely worth its weight, size, and low cost. I’m happy that it appears to be very robust. It’s a useful complement to my camera and long lens.
Might I consider upgrading? Perhaps. A better optic would presumably have good image quality over a larger fraction of the field, a brighter image with less color cast and veiling from better coatings and prisms, more convenient twist-down eye-cups, and perhaps a smoother focus mechanism. I’ll see over the next year how much these deficiencies impact my use, but in the meantime I’ll enjoy what I have.
Acknowledgements
Thanks to DPR forum member M_digicapt for comments on an early draft of this review.